It has been a while since I updated you all on the tiny house, I’ve been spending all my free time building and getting the tiny house ready for the Tiny House Conference coming up very soon. Right now I’m spending my time insulating the house, squaring away some of the plumbing and wiring.
Wiring:
I had the tiny house roughed in (running wires, installing boxes, grounding) for electrical a while ago, but since then I decided I wanted a few more wire. The two biggest additions I made was I wired for some outdoor speakers I wanted to add to my house and then I ran Ethernet cables for internet.
When I added these it was tricky because adding these wires you want to try to avoid your electrical lines the best you can. Ideally you won’t have your Ethernet cable within 18 inches of your power lines and if you do have to cross them, you do so at a right angle. The reason why is that the electromagnetic fields of the wires are essential to how the ethernet cables work to transmit the data for your internet connection.
When it comes to achieving this spacing it is pretty tricky because in a tiny house the walls there isn’t that much space to achieve this. The other consideration when running wires is that the longer you run, the more the signal degrades. In this case even if though I had to run the wires in a bit of a round about way, it wasn’t too far. For Ethernet cables at about 1000′ the signal degrades and for speaker wire under 50′ you can use 16 gauge wire, over 50′ 14 gauge is recommended.
Insulating:
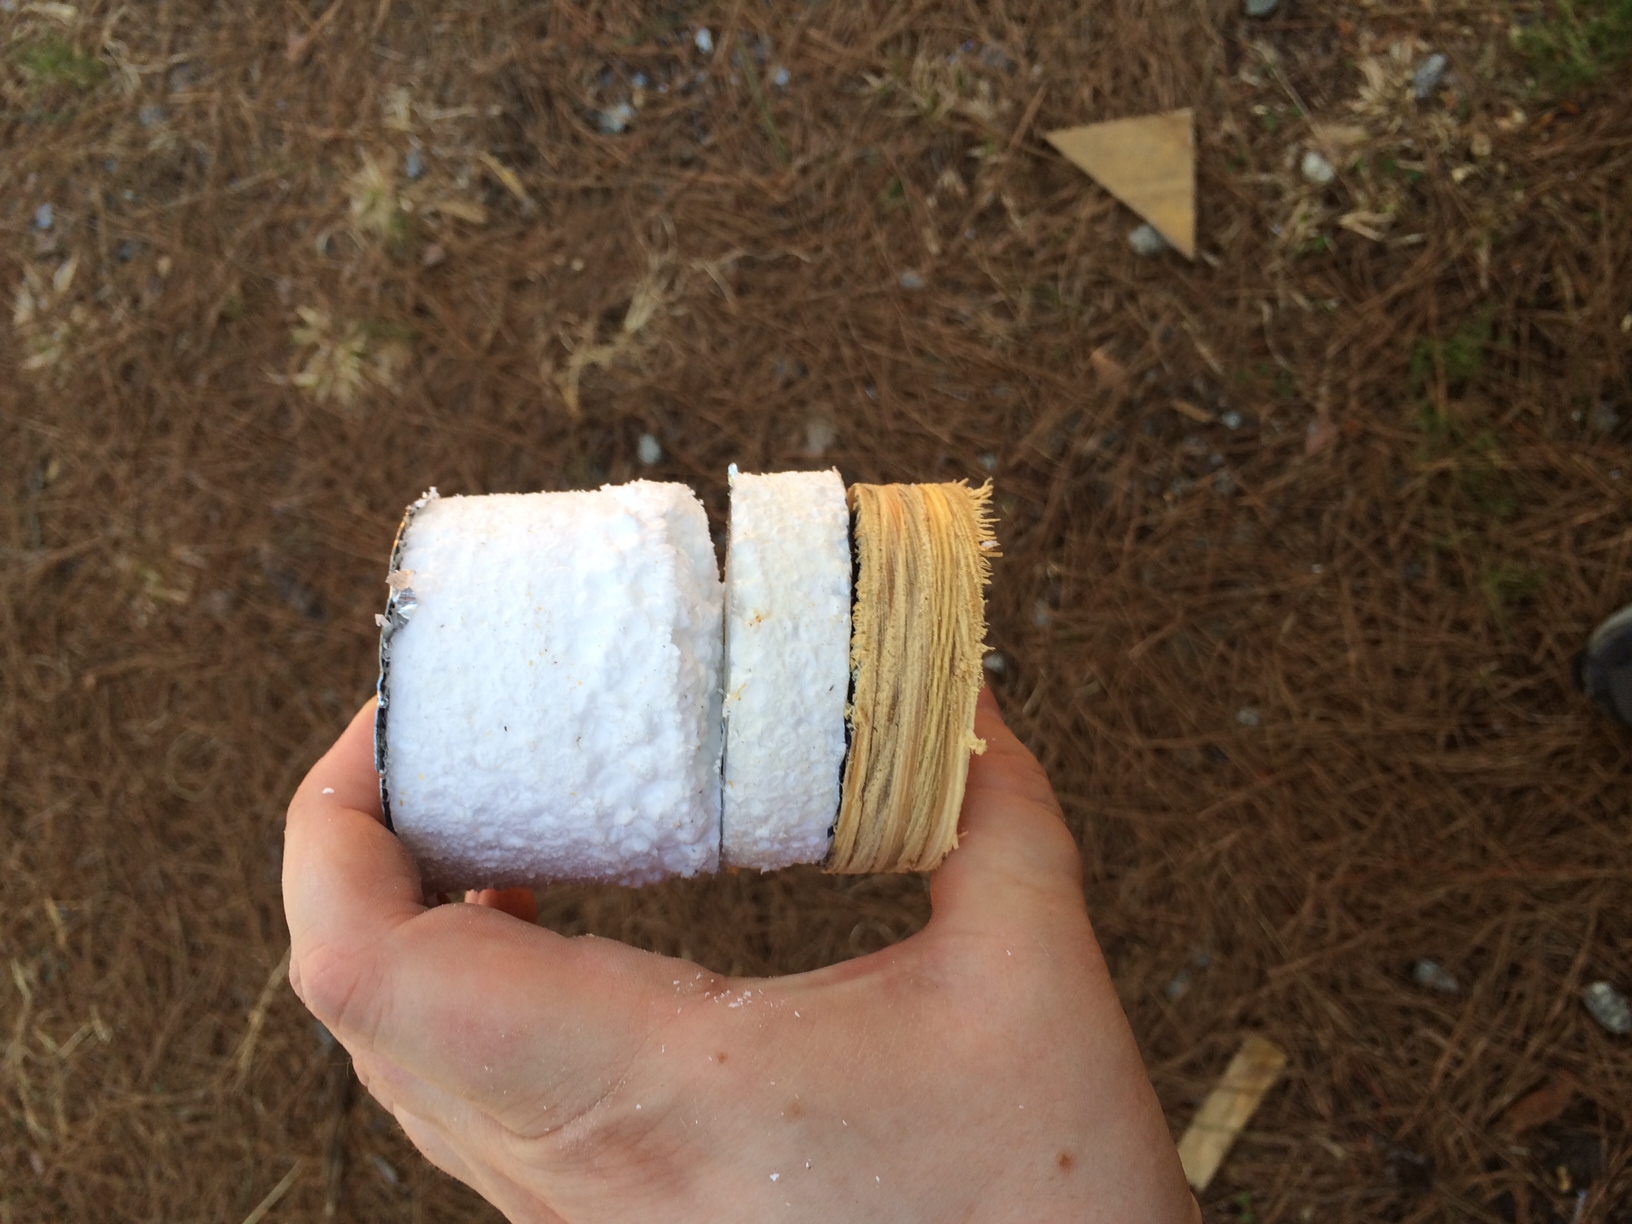
Initially I was going to use foam board, but after using in the floors I found that I wasn’t able to pack in enough of the foam board as I thought. The floor framing cavity was 3.5″ deep, but I was only able to fit about 3″ of foam with the brackets, air pockets etc. So for the walls I decided to go with standard fiberglass batts that were kraft paper backed. This allowed me to use the full space because it could compress where there was things in the way. It also meant that I could very quickly insulate the walls when compared to the rigid board insulation.

Now I know many people are going to ask, so I’ll explain why I choose Fiberglass and Foam over other options. My first choice was to get spray foam insulation, which has the highest R value of the common insulation for houses. So I called around for quotes and for some reason to get this done in my area is more expensive than in other cities. The lowest quote I got for my tiny house was $3400! So that was out.
Next I considered sheeps wool, but at the time they didn’t have it in batts (combined into a thick sheet that fits in the wall framing) at the time I started building my house. At the time it was just loose fill and everyone I spoke to it was a pain to fill into the wall cavities. Wool is also about R-5 less than foam. So while fiberglass isn’t great, I felt for me it was the right choice in terms of price, R value, and easy of installation. The wool insulation was going to cost me close to $700 while the fiberglass insulation cost me $300.
Installing The Shower Drain:
When it came to putting a hole in the floor of my tiny house, I was pretty nervous about it. One thing that I knew going into the build from day one was that I might go to put the hole for the drain, only to find that a metal support for the trailer was in the way; Talk about a potential nightmare!
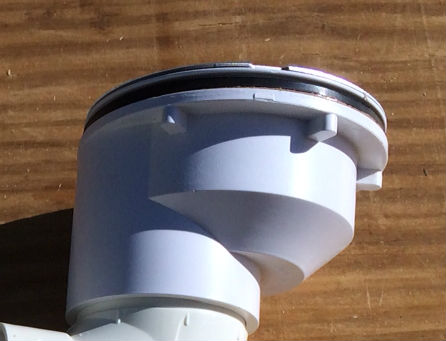
Well low and behold, the drain did in fact need to go where a 5″ metal beam was under the trailer. It took some work to figure how the drain location on the inside, translated to the bottom of the trailer because you can’t really measure from the same point when you’re under the trailer. Once I measured it out my nightmare became real life as I stared at the beam that stood in the way of the drain. So off the the hardware store I went with some photos on my phone in order to find a solution.
After 45 minutes in the plumbing aisle I discovered something called an “off set drain” which is pictured above. This basically gave me the few inches I needed to miss the beam entirely and solved my problem. With that set I picked up a hole saw to cut the correct size hole and I could move forward again.
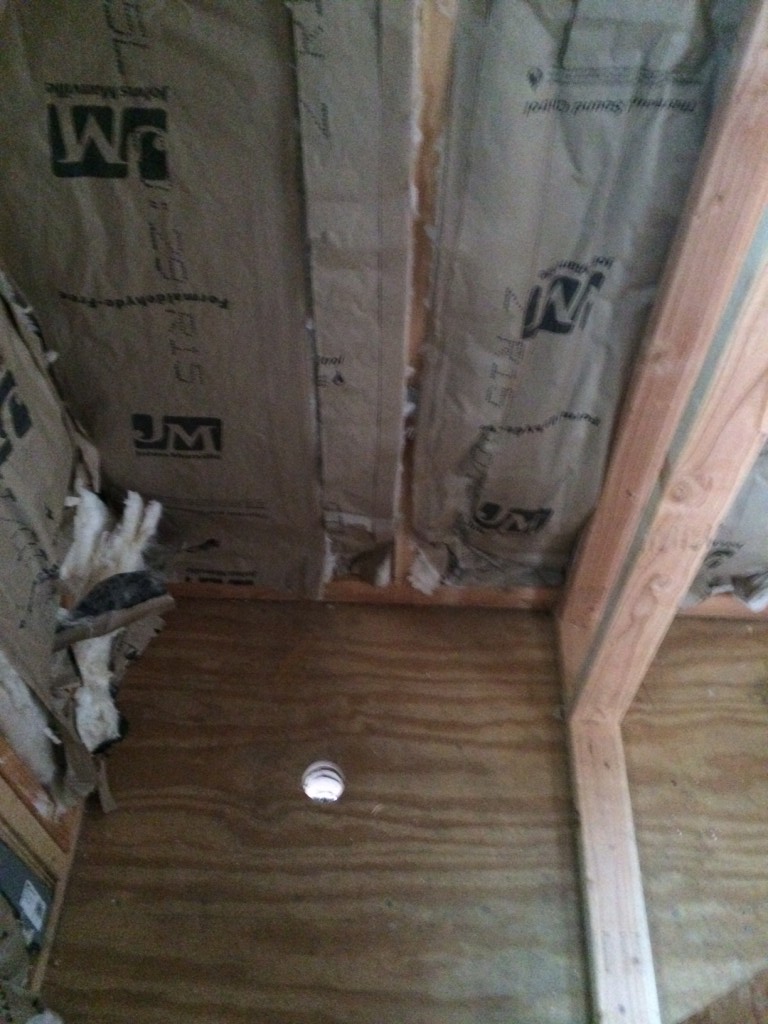
Here are some photos of the house right now:

Interesting post! I’m always fascinated by the thought process behind other folks’ build choices, and they aren’t always spelled out. Thank you.
And, now I have questions. 🙂
Where did you see that “Wool is also about R-5 less than foam”? I ask because during my own research phase, I saw they were about equal when comparing inch to inch – which brings up my second question: R-5 less when comparing what exactly? Per inch? Per 4 inches? I went with wool, and oh boy you ain’t a kiddin when you state it costs more…. But I’m super happy with my choice for various reasons. I might need a little more insulation than I originally purchased though, as I’m using 2×6 studs instead of 2×4. So I’m still open to using something other than wool for those last little bits.
Next question! What exactly did you use to get the hole? If you are comfortable, could you say size, type, brand, all that? I have to cut some holes and I don’t know where to start. I’m not sure how to google what I need, heh.
Be well!
Coffee, the tool is called a Hole Saw, it probably is near the Drill bits as it is a an attachment for your drill. I generally buy Craftsman, mostly because of Sears generous replacement policy.
Thank you, Macdude. So it’s a drill attachment then…got it. Thanks muchly. 🙂
How long do you intend to live in your house?
What is your calculated house life span?
I wonder because you balked at spending $400 more for wool insulation.
What are you thoughts on structurally insulated panels?