CLICK TO JUMP TO A SECTION

Hi, I’m Ryan
My personal reason for learning how to dehydrate food was the ability to preserve my fresh, homegrown herbs and summer vegetables for winter use. There’s nothing quite like a well-seasoned bowl of soup on a cold day or having home-dried spices to liven up my fall and winter recipes. The wonderful thing about dehydrating food is how easy the process really is once you get the hang of it. I’ve enjoyed growing my knowledge of preserving a variety of food groups with this technique.

Why Should You Dehydrate Food?

You should learn how to dehydrate food so that, like me, you can make the process of growing your own herbs, vegetables, and fruits more cost-effective and worth it in the long run. Whether you consider yourself a homesteader or you simply enjoy gardening to add fresh ingredients to your family’s meals, dehydrated food benefits your budget and your pantry by preserving your homegrown foods throughout the months when you don’t have easy access to fresh ingredients.
 Some people enjoy canning their excess fruits and veggies, but I personally prefer dehydrating because the dehydrator doesn’t cook all the nutrients out of your fresh produce. Instead, your food will dry slowly at a low temperature, leaving much of the nutritional value of your fresh foods intact.
Dehydrating is also a much broader form of food preservation than canning is, and you can use your dehydrator on food groups other than fruits and vegetables to make things like crackers, flatbreads, and jerky. As small of an issue as it might seem, dehydrated food typically takes up less pantry space than canned goods, too, as it can to be stored in thin, vacuum-sealed bags instead of large canning jars. This space-saving hack feels like a big deal if storage is an issue for you.
How Does Dehydrating Food Work?

Dehydrating food works by removing any moisture that would cause food to spoil quickly. Learning how to dehydrate food is quite simple and can even be fun. Personally, I like to have a big dehydrating day at the end of my growing season and make a sort of holiday out of it. Turn on some good music, tv show re-runs, or even an audiobook and transform your food dehydrating process into an annual tradition you’ll look forward to next year.
The most important things to be aware of when it comes to dehydrating will be specific to the food type you’re working with. The process is mostly the same across the board, but you’ll want to keep in mind certain variables.
Dehydrating Variables For Different Foods
- Which parts can be dehydrated.
- The preparation process.
- Ideal temperature for dehydrating.
- Length of time for dehydrating.
- The trick to knowing if it’s fully dehydrated.
- Post-dehydration shelf life.
If that sounds like a lot to worry about, don’t be discouraged. The process is fairly straightforward, and many of your food groups will have identical instructions, so you’ll be able to get into a groove.
If you have the option, weigh the pros and cons of using an oven or a dehydrator before you start prepping your food. Either method can remove the moisture from your produce for the most part, but they each have advantages and drawbacks.

Dehydration Tools: Your Oven Vs. A Dehydrator

Ovens and dehydrators are both good options for dehydrating and can achieve fairly identical outcomes in success and flavor. The real difference comes in the time and difficulty levels of the dehydrating process.
The advantage of learning how to dehydrate food in your oven lies mostly in convenience. Almost everyone has an oven, so you won’t have to spend any money to get started or figure out where to store a dehydrator.
 There are some big downsides to using an oven, though. An oven will take a long time to dehydrate your food, it will require a lot more of your energy and attention during the process, and it’s difficult to maintain a consistent temperature with the right amount of airflow. You’ll have to continually use a thermometer to monitor the temperature inside the oven and create a system of airflow. If your oven doesn’t have a fan, this will mean propping open your oven door at times to allow moisture out. If you don’t manage to maintain a consistent temperature and the correct airflow, your food won’t dehydrate properly.
A dehydrator, on the other hand, gives you quick and complete control over temperature and airflow, making the whole process faster, more energy efficient, and more precise. Most dehydrators also fit more at one time than an average oven, as well.
If you’re considering dehydrating meat, I would definitely recommend investing in a dehydrator. While they can be a little pricey and they do take up counter space, food safety with meat is important, so you’ll want to have good control over the dehydrating conditions to ensure it doesn’t spoil.
How To Dehydrate Food In Your Oven
- Preheat oven to its lowest possible heat setting.
- Prepare food as recommended depending on food type (washing, blanching, chopping into even slices, etc.).
- Place parchment paper over a cooling rack and spread out your food in even layers.
- Set cooling rack on a cookie sheet (for easier access), and place in the oven.
- Cook for 6 to 12 hours (depending on food type), checking temp, airflow, and texture of foods hourly.
- When completely dried, leave out for a day to sufficiently cool.
- When storing, make sure no stickiness or moisture remains.
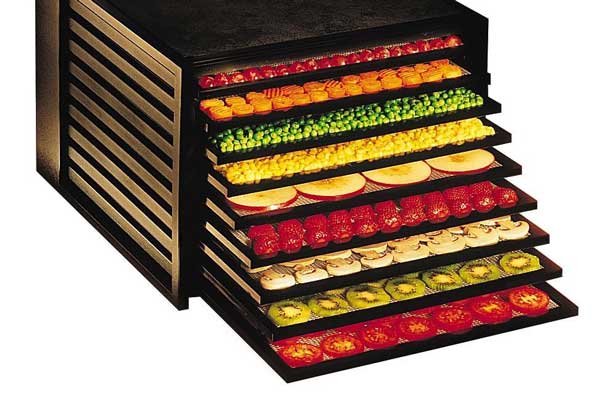
What Foods Can Be Dehydrated?

The best foods to dehydrate are vegetables, fruits, herbs, lean meats, and even some sauces. I’ve mostly used my dehydrator for drying my excess herbs for the winter, but others I know have favorite fruits and veggies that they love drying and storing in their pantries. Personally, I haven’t attempted dehydrating any sauces or jams, but I have heard of backpackers using this method to create their own meals to eat on the trail.

Vegetables That Can Be Dehydrated

Once you understand the basics of dehydrating, it’s time to explore how to dehydrate vegetables so that your nutritious garden produce doesn’t go to waste. I won’t give you an exhaustive list of vegetables here, but this roundup of veggies that dehydrate well should get you started. As you build your dehydrating skills, you can tackle new vegetables down the road.
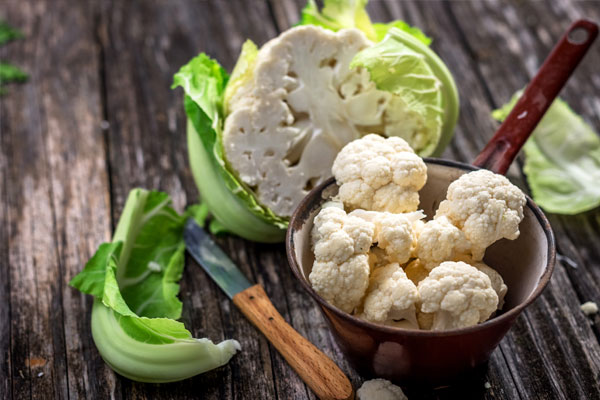
How to Dehydrate Cauliflower
One of the great things about cauliflower is that all parts — from the stems and florets to the leaves — are good for dehydrating. Following these seven steps will help you dehydrate your cauliflower after the peeling, chopping, and blanching process. I also have some helpful tips and tricks for storing dehydrated cauliflower as well as rehydrating it for easy use in your favorite recipes.

Dehydrating Leeks
Belonging to the allium family of vegetables along with onions and chives, leeks add an even stronger punch to your meals after they’re dehydrated. Since leeks are packed with vitamins, learning how to prepare, dehydrate, and store them can benefit your heart health and immune system on top of adding sweet onion flavor to your recipes.
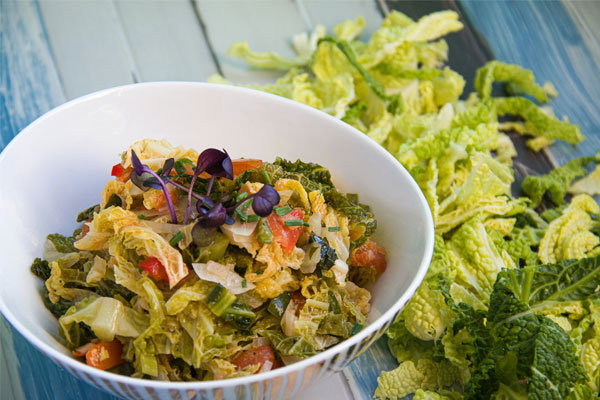
Guide To Dehydrating Cabbage
Cabbage is surprisingly healthy for you, and if you love soup, ramen, or an easy-access snack, this five-step process of dehydrating will be right up your alley. You’ll need to wash, slice, and blanch your cabbage leaves before drying them in a single layer to make sure they’ll be fully dehydrated. Follow these tips to store them properly for a long shelf life as well.
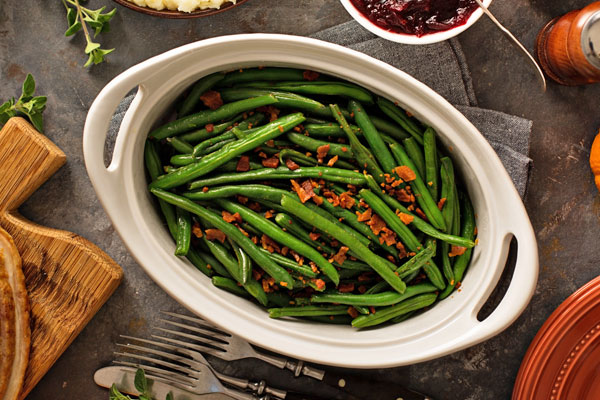
The Basics Of Drying Green Beans
Chances are, even if you aren’t a veggie person, you like green beans. This four-step process is a quick and simple way of preserving this flavorful veggie for a satisfying and nutritious on-the-go snack throughout the season. You can also choose to rehydrate your green beans down the road so you can work them into your recipes year-round.
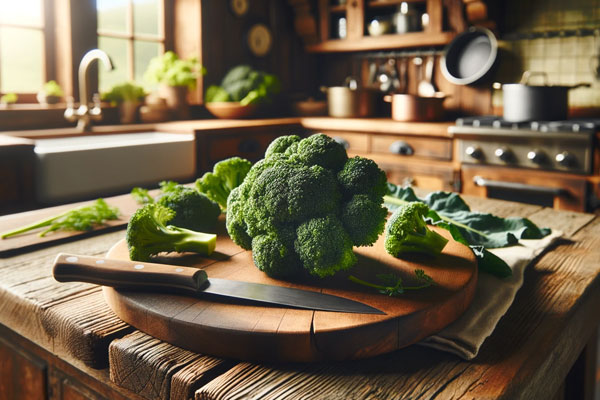
How To Dehydrate Broccoli
Broccoli is one of the healthiest foods you can eat. It is also a cool-weather crop, which makes enjoying its benefits year-round tricky unless you learn these eight steps for prepping, drying, storing, and using dehydrated broccoli to make a variety of nutritious snacks like broccoli chips.
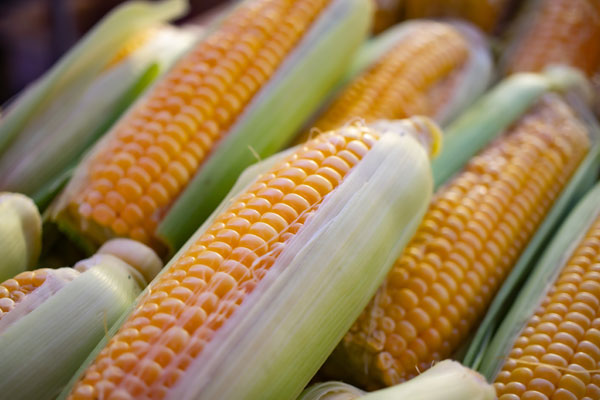
The Process Of Dehydrating Corn
Corn is so well-loved that the people have dehydrated it for thousands of years! While corn is a little different than other vegetables when it comes to the dehydrating process, these five steps will have you making your own corn starch, cornmeal, or ready-to-rehydrate kernels for use in your recipes year-round.
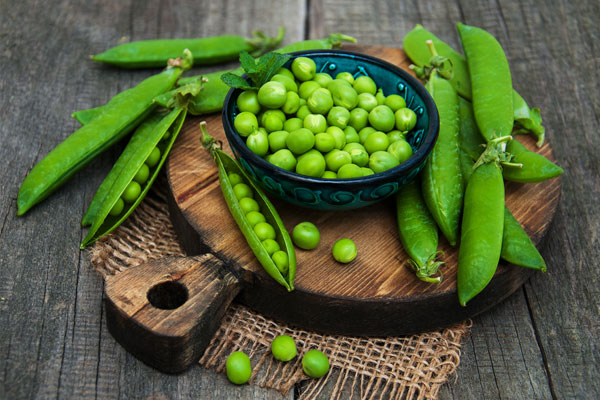
A Guide To Dehydrating Peas
Peas add just the right texture and flavor to so many recipes, and they’re also great all by themselves. Dehydrate snow, sugar snap, or English peas in these five easy steps for the perfect result every time.
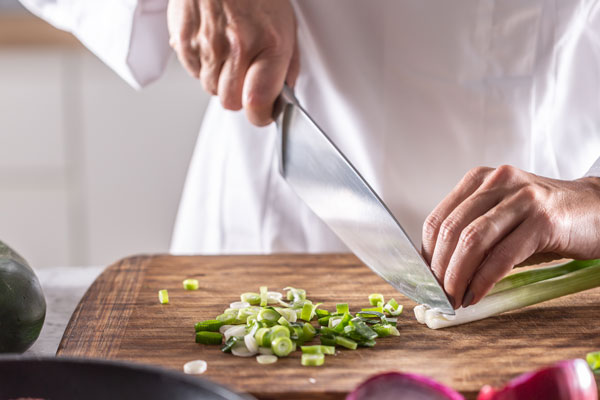
Scallion Dehydration Steps
Even if you aren’t much of a gardener, scallions (like most alliums) are easy to grow, and will keep popping up annually without you having to lift a finger. Here are nine steps to follow when dehydrating scallions for an oniony tang in your upcoming recipes. If you follow this process, your dried scallions could last you around a year.
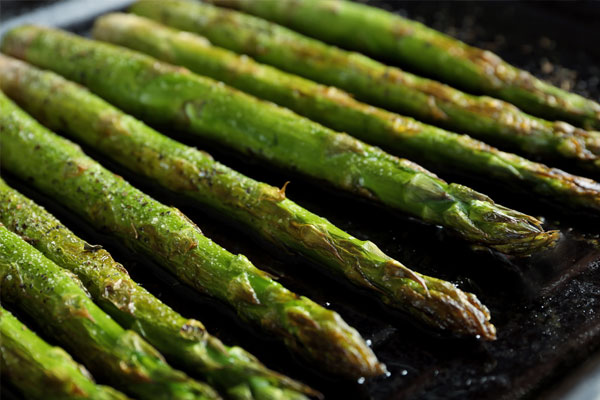
How To Dehydrate Asparagus
Asparagus is packed with vitamins A, C, and K, along with antioxidants, iron, and potassium. When you’re following these 10 dehydrating steps, you’ll need to monitor your stems to make sure all sides dry evenly and don’t scorch, but the end result is worth the effort.
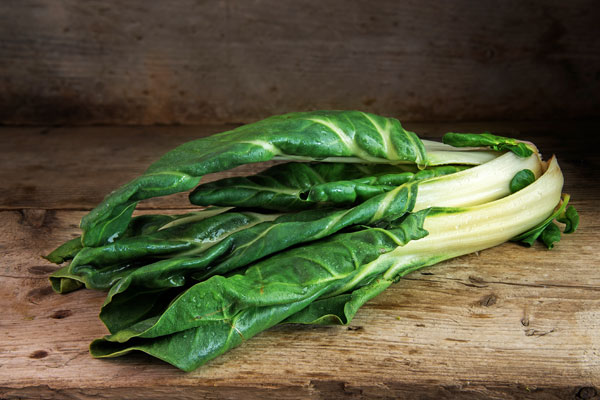
The Ins And Outs Of Dehydrating Swiss Chard
Swiss chard is a lesser-known leafy green vegetable that is packed with nutrients and is also extremely versatile. Both of these qualities make this straightforward, six-step dehydrating process more than worth it. Follow these storage instructions as well to extend the shelf life of your dehydrated chard.
Fruits That Can Be Dehydrated

Removing the moisture instead of cooking your fruits will allow your blueberries, bananas, and other favorites to keep their health benefits without sacrificing flavor.

Dehydrating Cantaloupe
Few things bring summer to mind like the taste of a sweet and tender cantaloupe. Since these melons are super easy to grow, many gardeners end up with too many to enjoy before they spoil. Preserve your extra melons before they go to waste with these nine steps and have the summer-fresh taste of cantaloupe all year.
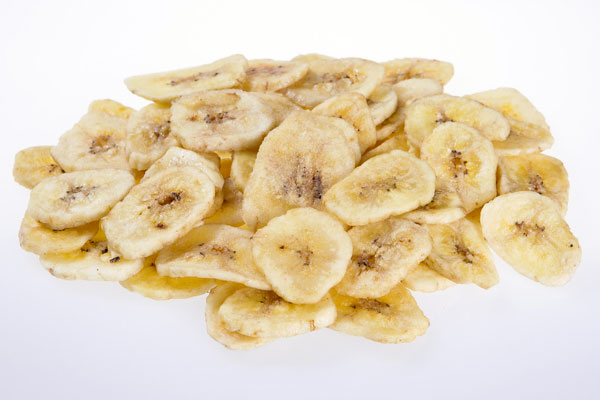
A Guide To Dehydrating Bananas
Your soft, sweet bananas can be dehydrated into tasty snack chips or soft cereal toppers in a simple process. Slice your bananas into thin, uniform pieces and spread them in a single layer on your dehydrator trays. Dry banana slices in your dehydrator at 135° F for 6–12 hours or until they are completely dry.
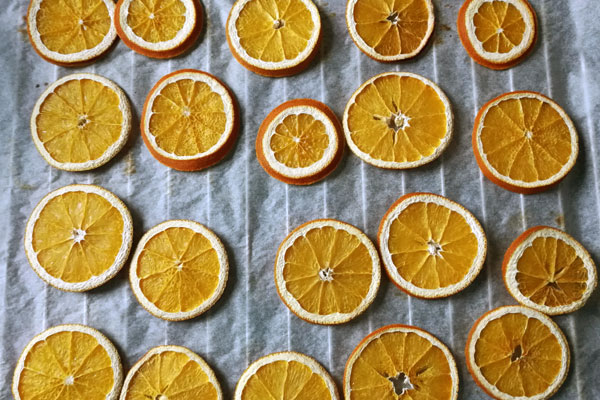
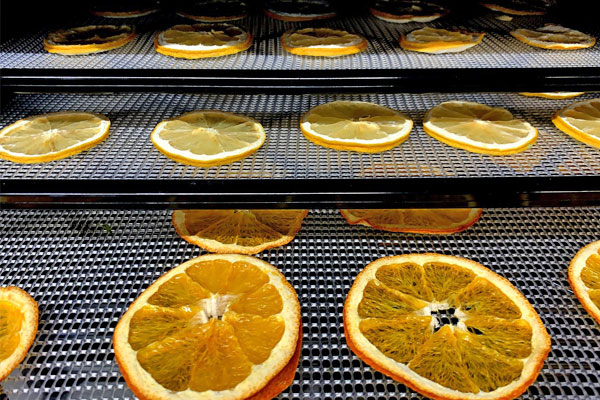
How To Dehydrate Oranges
Dried oranges are especially popular during the winter months for a fresh citrusy aroma and uniquely festive holiday decor. Cut your oranges into thin slices before spreading out onto your dehydrator trays and sprinkling with any spices want. Dehydrate the slices in your dehydrator at 135° F for 6–9 hours.
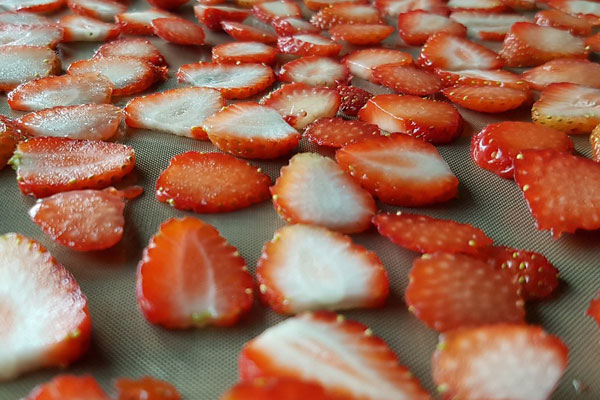
How You Can Dry Strawberries At Home
Packed with antioxidants and minerals, dried strawberries make a delicious addition to hot cereals and muffins, and they’re a yummy snack all by themselves as well. To dry, pick the stems and leaves off of fully ripened strawberries before slicing them into even pieces and spreading them in a single layer over your dehydrator sheets. Dry at 135° F for 6–12 hours.
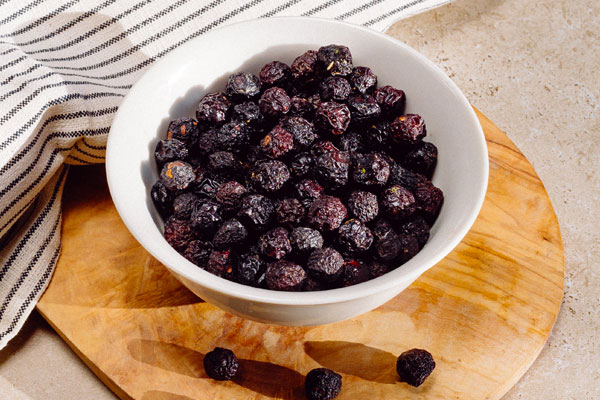
Preparing Dried Blueberries
For best results, bring a pot of water to a boil and use a colander to dunk your blueberries for no more than 10 seconds. Pat the berries dry before spreading them out on your dehydrator sheets and dry at 125° F to 130° F. Because of the liquid content in the berries, they’ll need to dry for a long time — probably around 17 hours.
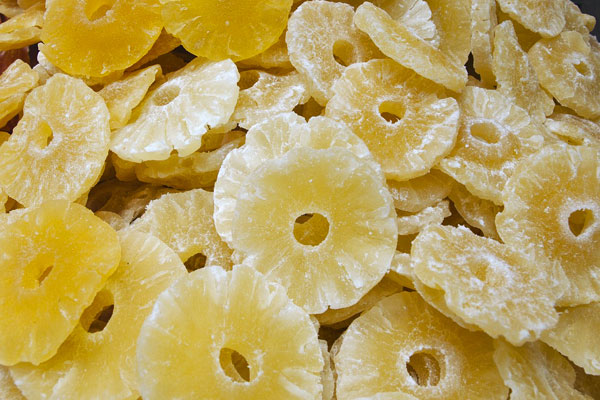
Pineapple Dehydration
Dehydrated pineapples have a shelf life of 12 to 18 months, and they make great garnishes and trail mixes. Starting with sweet, ripe pineapples, peel and slice to your desired size, making sure your pieces are uniform for equal drying times. Next, spread the pieces out with space in between on your dehydrator racks and dehydrate for 8–10 hours at 135° F.
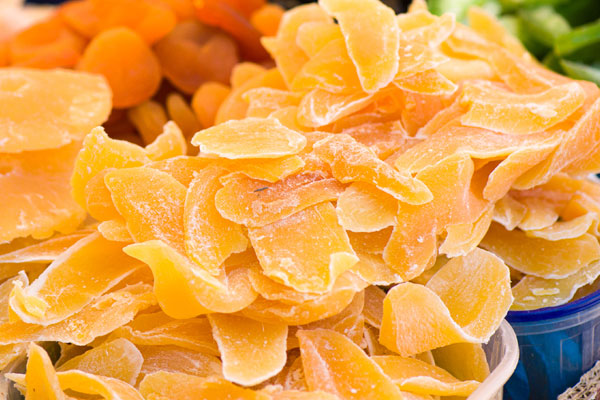
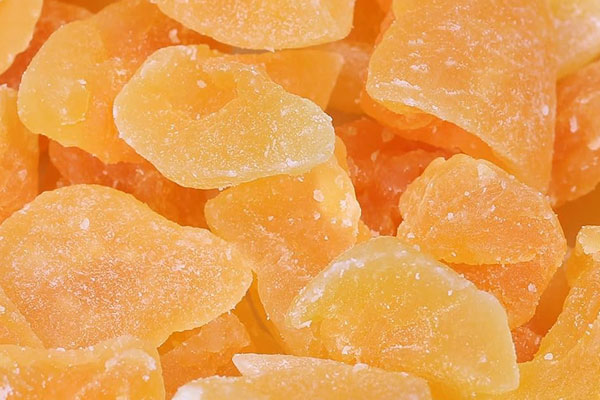
How To Properly Dehydrate Mango
Packed with potassium, mango slices make delicious and nutritious dried snacks. After peeling the skin off your mangos, slice into thin, even strips and spread these across your dehydrator trays. At 135° F, your mango slices will take 8 to 10 hours to dry into pliable strips.
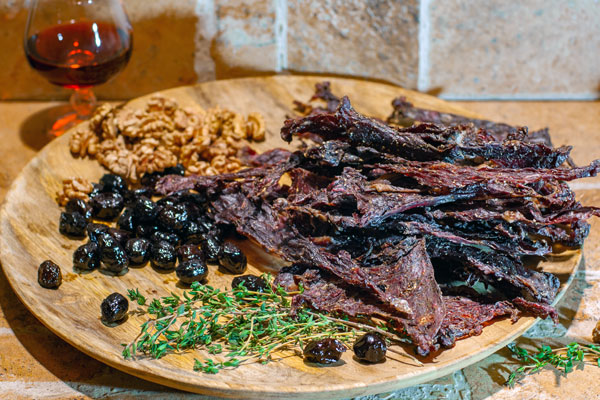
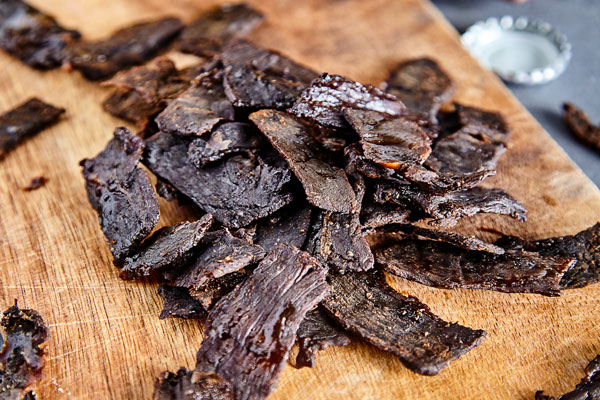
Meats That Can Be Dehydrated

If you are new to dehydrating, I would start with vegetables and fruits before working your way into the meat department, and I also wouldn’t recommend using your oven for dehydrating meat. That said, I have some handy tips and tricks to help your meat dehydration process go more smoothly when you’re ready.
Best Practices For Dehydrating Chicken
Cook your chicken to an inner temperature of 165° F before slicing into small strips or cubes. Marinate with desired flavors and refrigerate for 2 hours. Pat dry prepared chicken with paper towels and place on your dehydrator trays. The chicken needs to reach an internal temperature of 160° F, which will take approximately 8 hours. It is important to keep the temperature inside your dehydrator between 130° F and 140° F during the entire drying process.
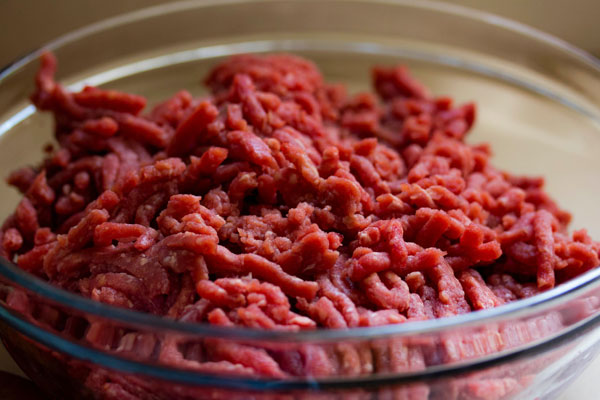
The Basics Of Drying Ground Beef
Start with the leanest beef you can find and brown over medium-high heat, adding your desired seasonings. Drain and squeeze as much moisture out as possible with paper towels before spreading the cooked meat on your dehydrator trays. Dry at 145° F for 4–10 hours.
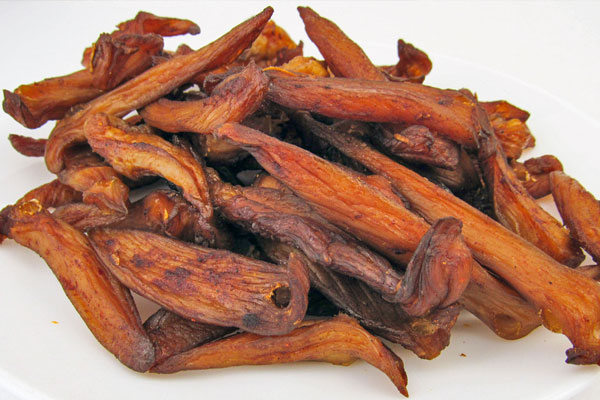
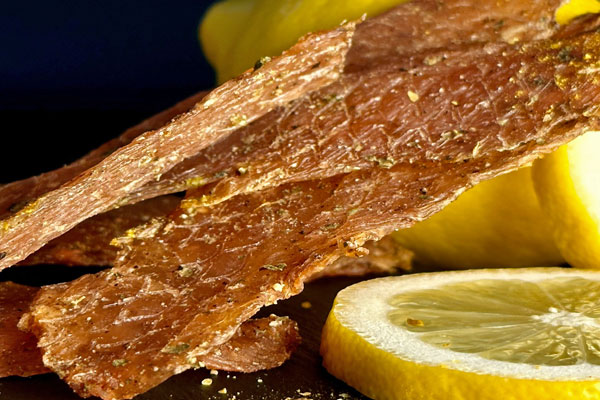
Venison Dehydration Guide
If you do a lot of hunting, making venison jerky from your catch can be a satisfying process, but you’ll want to do it safely. First, freeze the venison in pieces under 6 inches thick for at least 30 days in order to kill any unseen parasites. Next, cook the meat until it reaches an internal temperature of 160° F. To finish, chop the meat into your desired sizes and place in a pre-heated dehydrator at 140° F for 10–24 hours. You can store the jerky for about two weeks in your pantry, or freeze to extend the shelf life.
Steps To Dehydrate Ham
Ham jerky might be something you’ve never tried. To remove the excess fat from the ham and experience a new jerky flavor, slice the ham into thin, 1-inch strips. Place these strips on your dehydrator trays and dehydrate for approximately 6 hours at 145° F. Because ham is so high in fat, you’ll need to use paper towels to pat them dry a few times during dehydrating process.

Simple Steps For Turkey Dehydration
Making a large holiday turkey for a small family holiday? Take advantage of your pre-seasoned meat and make some tasty, post-holiday snacking jerky. Slice raw or already cooked turkey into thin strips before placing them in a marinade (if you choose). Refrigerate in the marinade for 12 to 24 hours before patting dry and laying on dehydrator sheets in a single layer. Like with chicken, keep the temperature inside your dehydrator strictly between 130° F and 140° F for 4–10 hours. If you’re dehydrating your precooked turkey leftovers, it should only take a few hours.
How To Successfully Dehydrate Seafood
Seafood spoils quickly, so I love dehydrating my excess fish for future use. My cat also loves these tasty morsels! After skinning and deboning your fish, rinse well under cold water and pat dry. Slice into small, even strips and marinate with a lot of salt (to prevent bacteria) along with your desired flavors for around 12 hours. After removing your fish strips from the marinade, pat dry and lay onto your dehydrator trays. Set your dehydrator to 145° F and dry for 10–12 hours, checking often.

Other Foods That You Can Dehydrate

For me, herbs like basil and oregano are the best foods to dehydrate because they help me create tasty recipes all year long. There are other somewhat random foods like marshmallows and eggs that are, oddly enough, popular dried foods. I’m not sure whose idea it was to first try dehydrating a marshmallow, but honestly, they might be a kind of superhero. Here are some ideas for foods and herbs to try your hand at dehydrating.

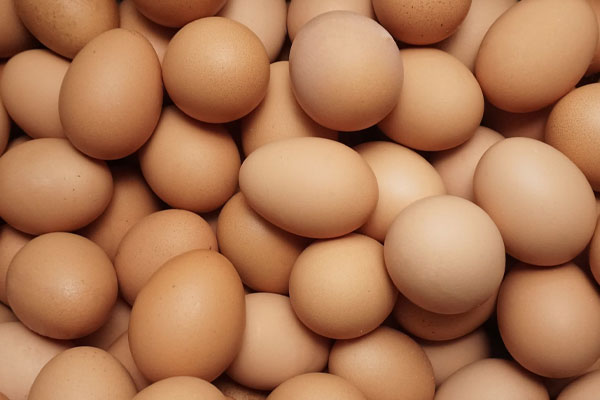
The Right Way To Dehydrate Eggs
Powdered eggs make for great homemade baking mixes, and they can have a shelf life of up to 10 years! To give your eggs this long shelf life, dehydrate them after scrambling or hard-boiling them, letting them cool completely before arranging your egg pieces or slices in one layer on your dehydrator trays. Set your dehydrator at 135° F and dry for 5–6 hours or until your eggs have become brittle and powdery.
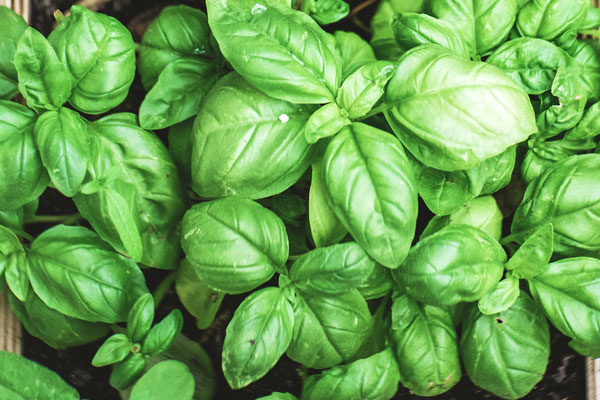
A How-To For Drying Basil
Dried basil makes for amazing pesto and a crazy number of other dishes that I love, and this simple process will keep you supplied for about a year. Simply wash and air dry your basil leaves before spreading them on dehydrator sheets and drying them at 95° F for up to 48 hours. How fast the basil leaves dry will depend on the type and size of the leaves and on your dehydrator, but you’ll know they’re done if they crumble in your hands.
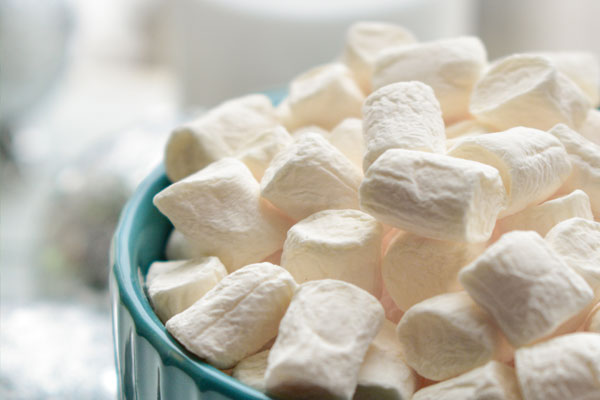
The Magic Of Dehydrating Marshmallows
Dehydrated marshmallows make for great homemade trail mixes, lucky charms, and hot chocolate mixes, and the best part is they’re super easy to dehydrate. Start with mini marshmallows or chop large ones into small pieces and spread them out on your dehydrating racks. Set your dehydrator to 150° F and dry for 4–12 hours or more. Honestly, the longer you leave them in the better. You’ll know they’re ready when they crumble completely into powder when crushed.
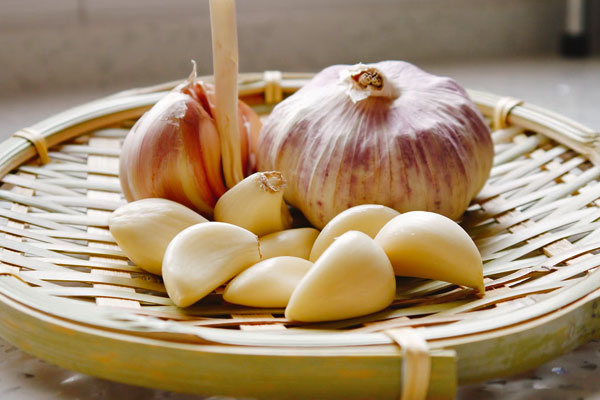
The Essential Guide To Drying Garlic
Dried garlic packs the same punch as fresh garlic, but with a shelf life of up to three years. To make this staple, peel and thinly slice your garlic cloves before spreading the slices out in a single layer on your dehydrator trays. Dehydrate at 125° F for up to 12 hours.
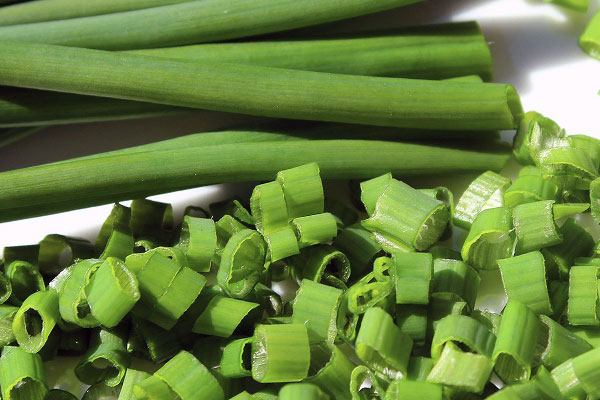
A Guide for Drying Chives
Chives add just the right flavor to so many of my favorite recipes, and dried chives have a shelf life of up to three years! To start, rinse, dry, and chop your chives into small, even pieces. Use a sheet of parchment paper to line your dehydrator trays before spreading an even layer on each sheet, drying in the dehydrator for approximately 3–5 hours at 105° F, until they crumble easily.
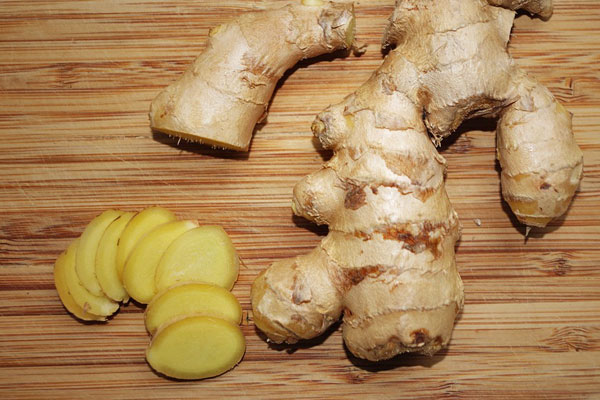
Ginger Dehydration Made Easy
Dehydrated ginger has many medicinal uses, and it adds a nice punch of flavor in homemade teas, curries, marinades, and baked goods to boot. To dehydrate, wash and peel your ginger before slicing into thin, 2-inch-long pieces and placing these on your dehydrator trays. Set your dehydrator to 105° F and dry these ginger slices for around 4 hours, or until completely hardened.
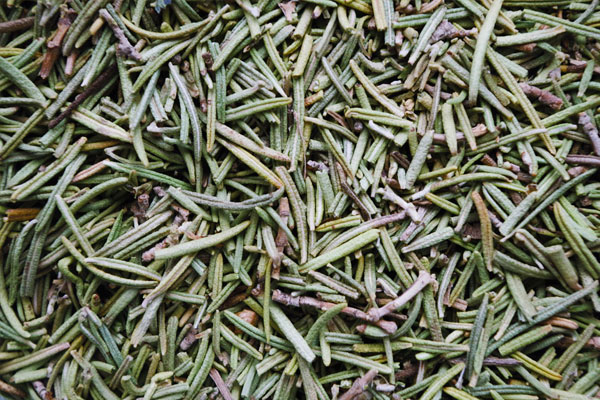
How To Properly Dehydrate Rosemary
Rosemary sprigs are packed with health benefits, and they’re easy to prepare and dehydrate — the whole process taking under 5 hours. Wash and dry your rosemary before laying the sprigs on dehydrator trays in one layer. Dry at 100° F for 2–4 hours.

Preserving Oregano Through Dehydration
Dried oregano adds just the right flavor to your browning meats or tomato salads, and my entire process takes under 4 hours. Simply wash and dry your oregano sprigs before placing them on your dehydrator trays and drying them on the lowest heat setting for 6–18 hours. Check on the drying sprigs often to see if they’re brittle.
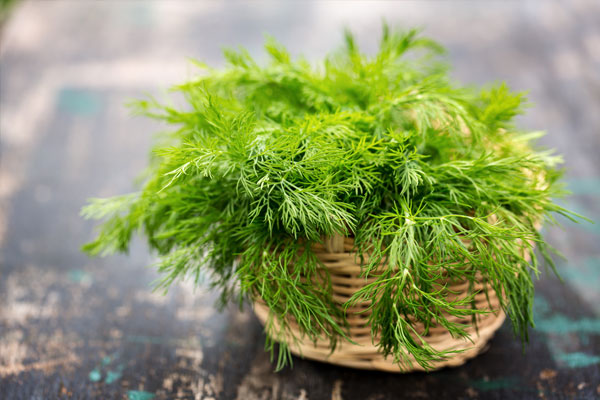
How To Preserve Dill By Dehydrating
Dehydrated dill even looks tasty, and I know from experience that adding it as a garnish on your deviled eggs and other mustardy or Mediterranean recipes creates just the right punch of flavor. Rinse and pat your stems dry before dehydrating for 4–6 hours at 95° F.
What Foods Can’t You Dehydrate?

If you’ve invested in a dehydrator and your first few drying attempts have been successful, you’re probably rubbing your hands together and wondering “What can I dehydrate next?”
While I commend your enthusiasm, there are some important things to know about what foods can and can’t be dried safely. Foodborne illness is no joke, but once you know some basic safety tips, you’ll be all set to start experimenting.
You’ll want to avoid dehydrating anything that is high in fat, such as fatty meats or avocados, and you’ll most definitely not want to dehydrate any dairy products, as this is food poisoning waiting to happen. Here are some foods to always avoid dehydrating.

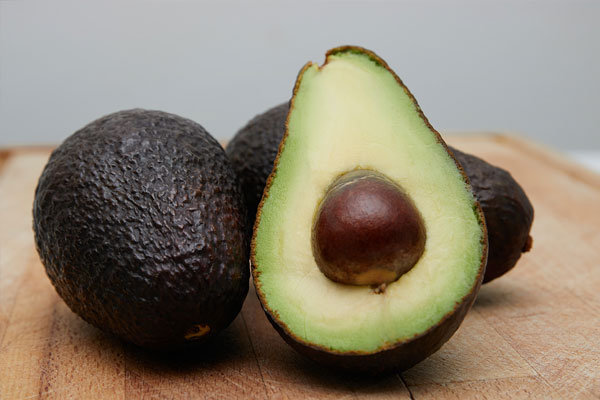
Why You Can’t Dehydrate Avocados
Avocados are too high in fat to dehydrate fully. They will dry into leathery strips that are sticky, and the fat will most likely become rancid and unsafe to eat.
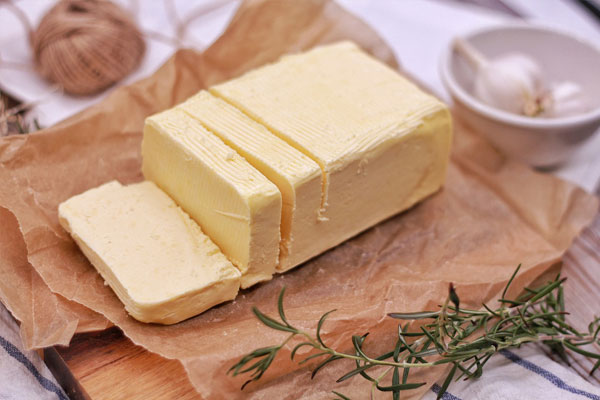
Say No To Dehydrating Butter
Butter is about 80% fat, so don’t try dehydrating it at home — leave it to the experts. If you really need powdered butter for something, you can purchase it from the store.
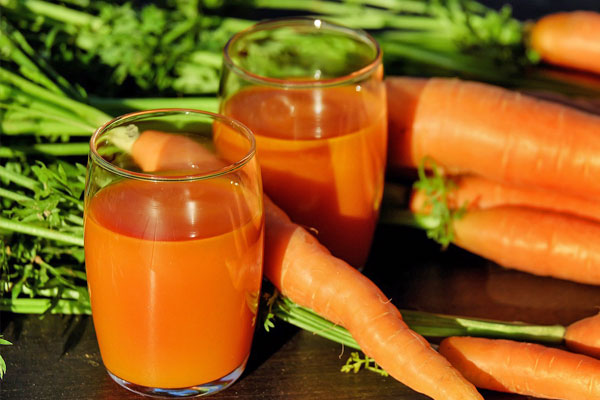
Juice Shouldn’t Be Dehydrated
While it’s possible to dehydrate juice, it takes a long time and causes a big mess. Try freezing instead.
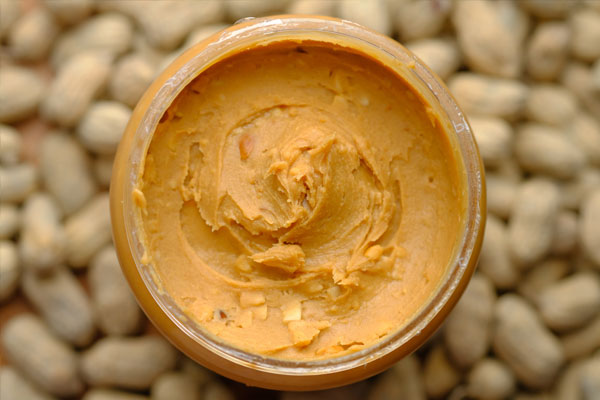
Peanut Butter Does Not Dry Well
Like avocado and butter, peanut butter is too high in fat to dehydrate well. Not all of the moisture will evaporate, and the end result will spoil quickly.
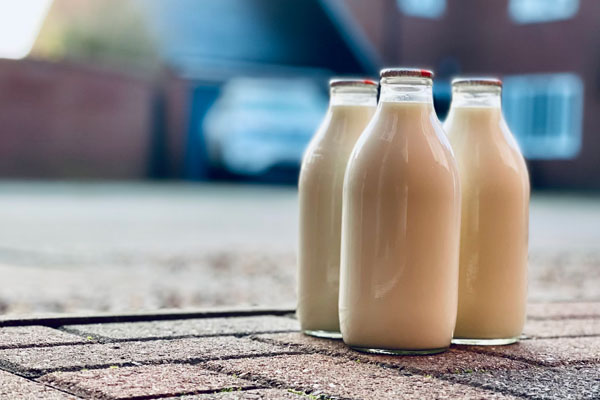
Don’t Try to Dehydrate Milk
Milk isn’t something you should dehydrate at home because of the extreme rapidity and temperature it takes to powder it without causing food poisoning.

Avoid Dehydrating Cheese
Similar to milk, cheese requires a stringent dehydrating process that can easily develop dangerous bacteria if not done precisely.
How To Prepare Your Food For Dehydration

When you begin learning how to dehydrate food, your first step is determining the proper method for preparing the food to go into the dehydrator or oven. Here are the basic steps for the preparation of most food groups.
Preparation Checklist
- Thoroughly wash.
- Chop off any inedible roots, leaves, etc.
- Slice evenly into small pieces.
- Separate any parts that might have different flavors or different drying times.
- Spread out loosely on dehydrator sheets (or parchment-lined drying racks for oven).
Small foods like blueberries will only need to be washed before going into your dehydrator, but things like scallions, melons, and meats will need the full checklist.
How Should You Store Dehydrated Food?

Once stored, your dehydrated foods should be kept in a cool, dark place such as a pantry cupboard or covered bin. If you live in a hot, humid climate, store your air-tight containers in an air-conditioned room or cool cellar. Keep in mind that the more you’ll want to access your dehydrated food containers, the smaller the portions you’ll want to store in each container. Once that air-tight seal is broken, your herbs and other foods won’t last as long.

How Long Does Dehydrated Food Last?

How long your dehydrated food lasts will depend on the food itself. While powdered eggs have a shelf life of five to 10 years, meats are generally only good for a couple of weeks without refrigeration or freezing. Each food will have its own particular optimal time of storage (see links above), but here is a general overview of what to expect for each category.
Length Of Shelf-Life For Each Food Group
Vegetables: 6 months (possibly a year with vacuum sealing and proper storage)
Fruits: 4 months to 1 year depending on storage temp and conditions
Meats: 2 weeks (2 months if refrigerated, up to a year if frozen)
Herbs: 2 to 3 years (will lose flavor if not stored properly)
Eggs: 5 to 10 years
Marshmallows: 6 months
Now that you’re armed with all the information you need to get started dehydrating food, go forth and choose the method that works for you and start drying your favorite ingredients so you’ll have access to them year-round.
Your Turn!
- What foods would you like to try dehydrating?
- How can you incorporate more dehydrated food into your meals?
PLEAS SEND US COM PLATE DETAILS ABOUT DEHYDRATION OF VEGETABLES
Small packets of OXYGEN ABSORBING materials are now easily available. They are cheap, and prevent anything alive from ruining dehydrated foods – extending the storage life of dehydrated foods from the 3-8 year range up to 30 years. For this you need mylar bags rather than plastic, or you can put one or two in a canning jar of dried foods and screw the lid on tight.
We buy big plastic bags of salad from the grocery store, but could never get a big, economical bag eaten before it got slimey. One day we thought to throw in an OXYGEN ABSORBER packet. No more slime! This trick saves us money every week, for about 5 years now.