When folks ask us what was the most challenging aspect of building a tiny house we will chorus in unison: BATHROOM. Several factors made this the most difficult part of construction.
 Firstly, this is the room we spend the least amount of time. For Cedric, this meant that finding inspiration to work on the bathroom was not easy. It was more interesting for us to design and build the kitchen where we spend the majority of our time. Secondly, designing a bathroom on wheels is challenging in and of itself. We love tile but the fact that the motion of moving the house would likely cause cracking and/or breakage threw that option out the window. We tried buying a shower pan but nothing fit our tiny space. We looked to RV and boat design but we wanted as little plastic as possible and much of those use plastic to create a waterproof space. We considered using a hardwood such as teak since it was available through the warehouse where we constructed, but we feared it would be too heavy. Our bathroom is on the tongue side of the trailer and we didn’t want to weight it down. That was another reason for throwing out the tile idea-too heavy.
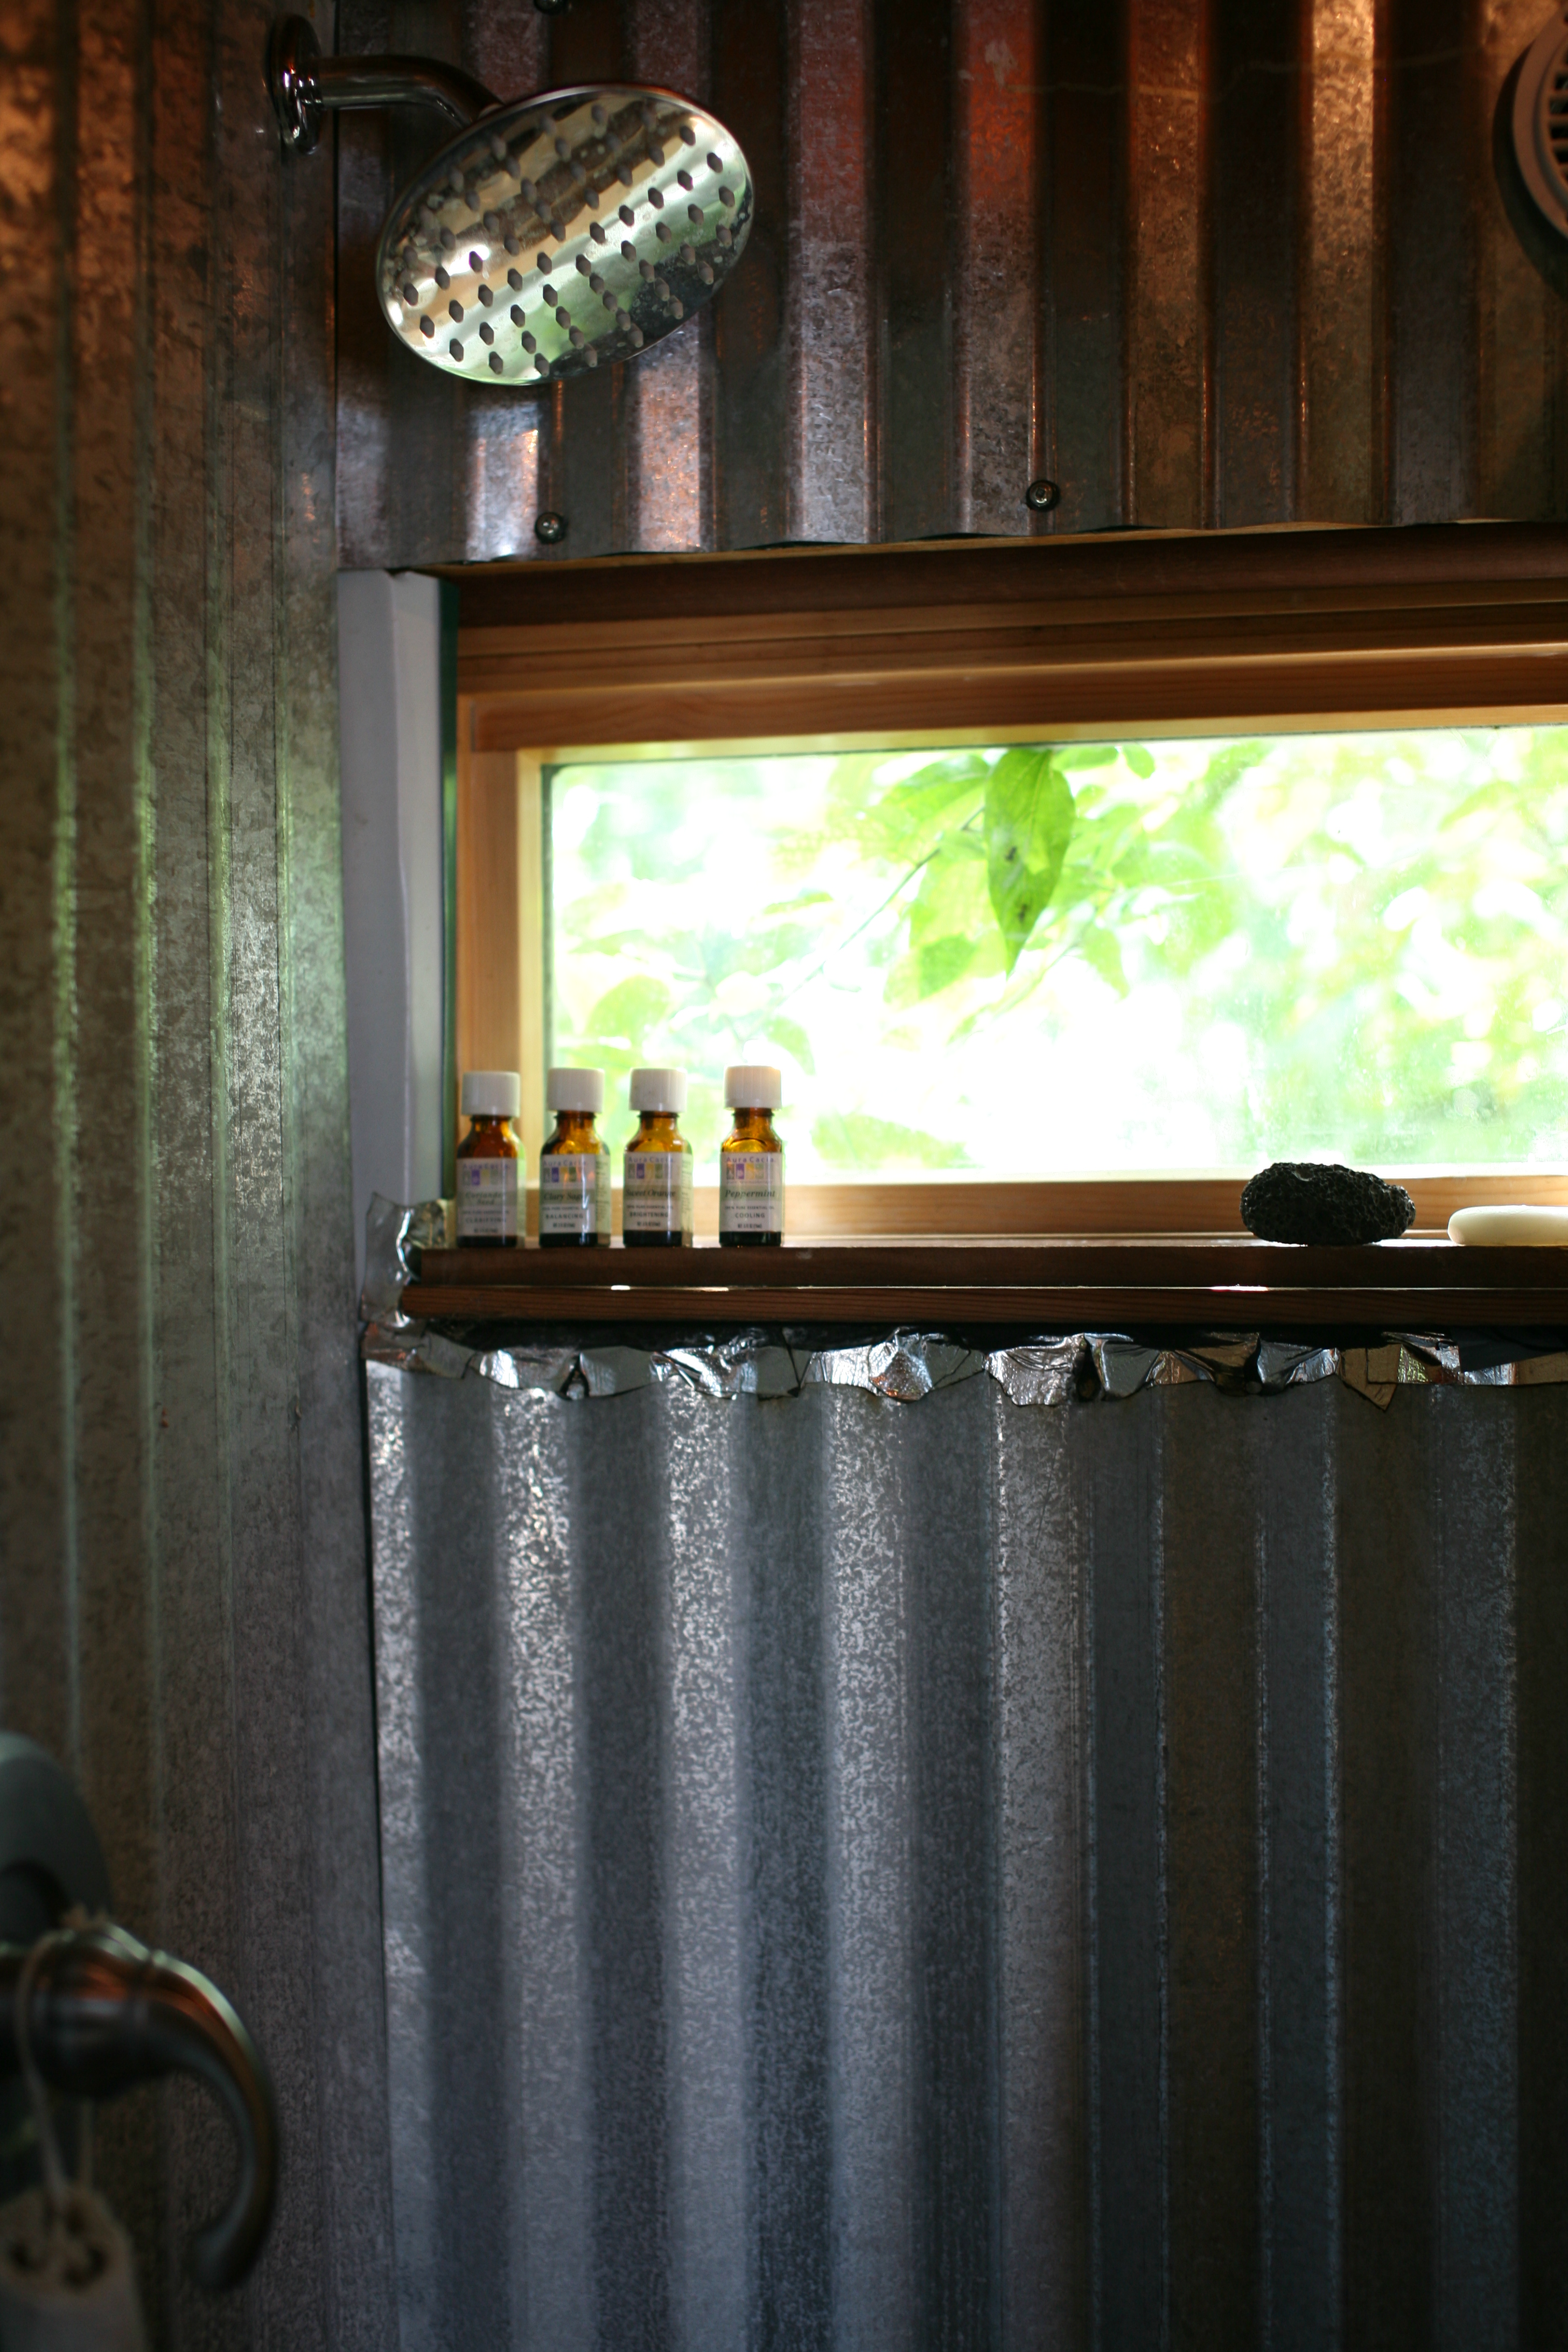
Finally, we decided on corrugated tin which was light and attractive. Before 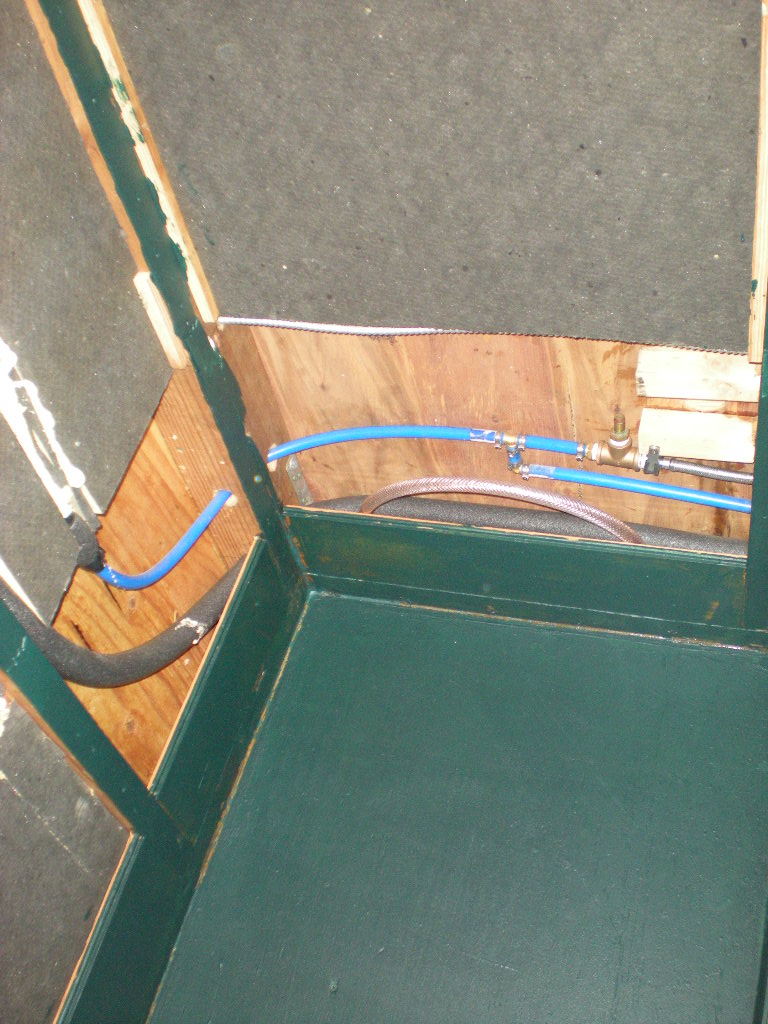 installing the outer materials the walls and floor were painted with reclaimed, heavy duty marine paint that’s used on ships to prevent water damage. For the flooring we decided to make a stainless steel shower pan. Cedric found the material at a junkyard. It was previously a kitchen counter but Cedric shaped, cut and welded it to fit our bathroom space. This is where our community came to our aid because we did not have the equipment to reconstruct the stainless steel counter top. We wouldn’t have been able to accomplish it without the help of our friend Bill who has a machine shop. It was not a cheap option and it took a lot of work to get right but we don’t regret the time or the money spent. Our bathroom will probably outlast the rest of the house!
Once we had installed the tin and pan we noticed we had issues with standing water. We fixed this by banging the shower pan in around the drain allowing for better drainage. We built in a box on one side with a hinged lid where our bucket composting toilet is located. We heat our water with an on-demand hot water heater that’s propane powered. It works like a charm although we did have trouble keeping the flame lit on a very windy night!
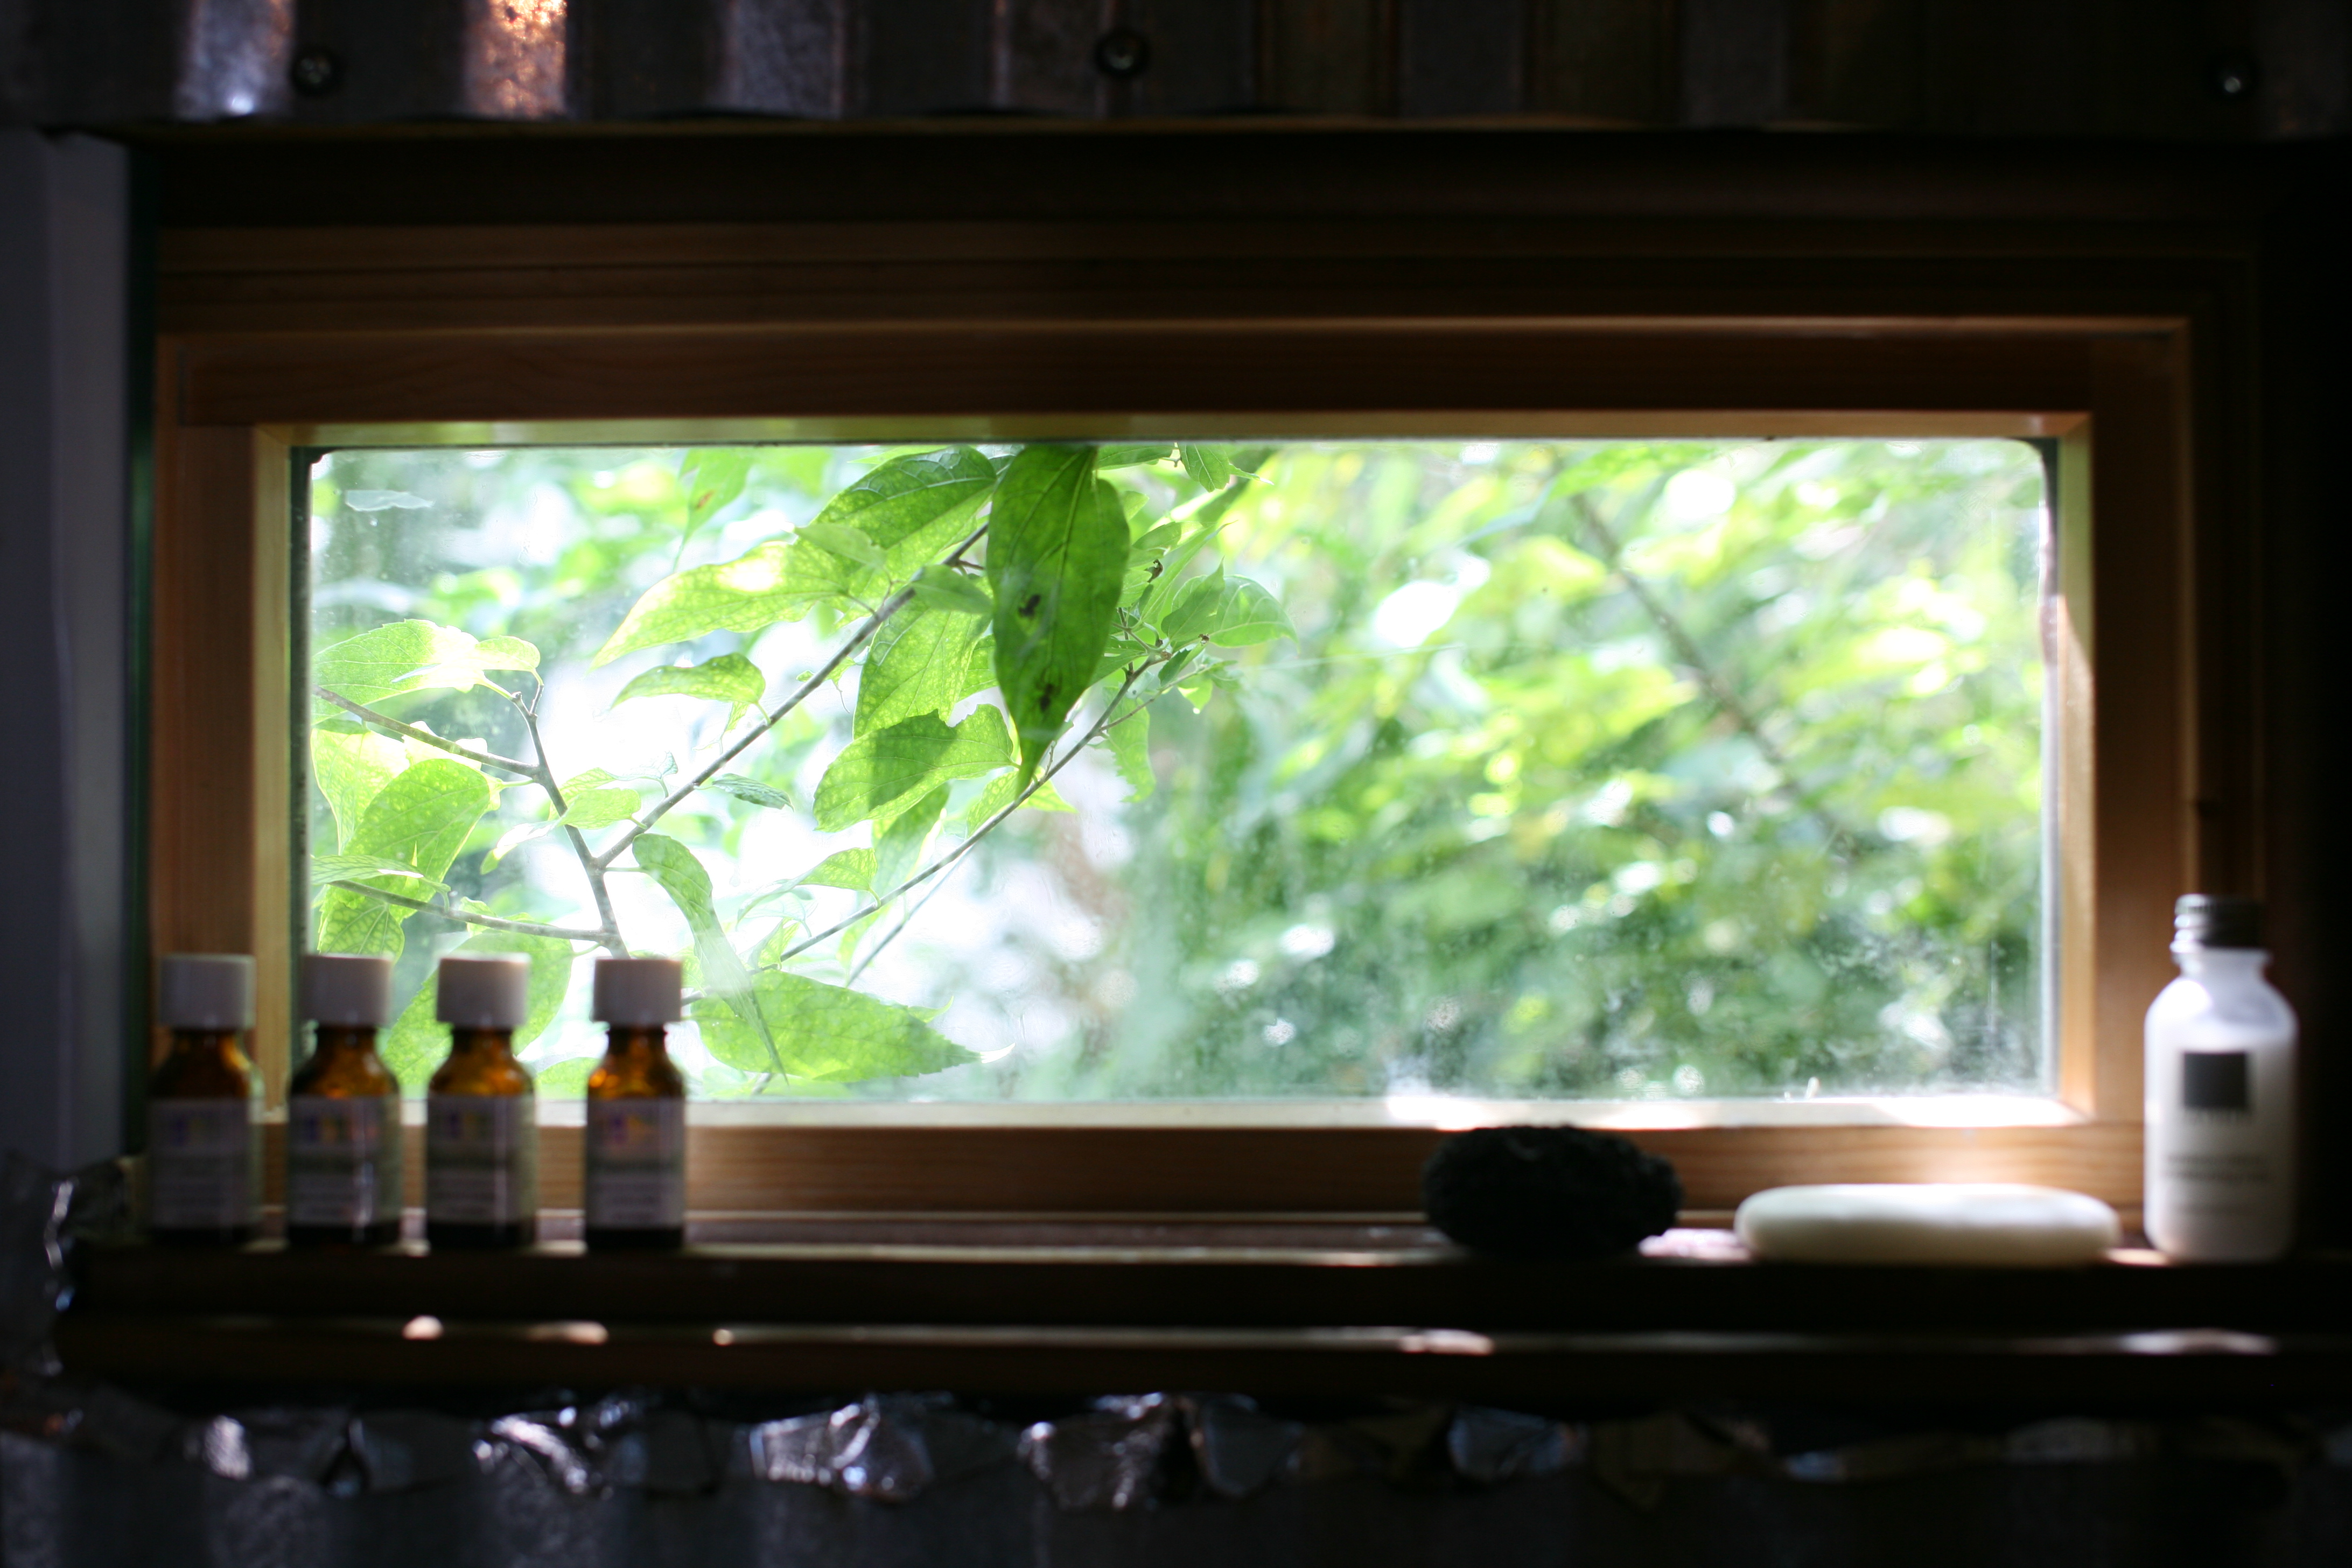 The bathroom, or the wet room as we call it, is still not quite finished with one window left to trim but other than that it has turned out to be a great space. We created a drainage field based on a gray water system we had used while working on an organic farm. It allows us to water our plants while showering which our banana and pineapple plants love! We are careful with the products we put down our drains using biodegradable soaps and shampoos that won’t harm the soil or plants. If comments on our garden are any measure of success than we hit the nail on the head. Of all the gardens I’ve had in Charleston, this one received the most praise from neighbors. I definitely think the extra watering had something to do with that! Ultimately, we’d like to build an outdoor shower for summer months as well as a possible outdoor kitchen but we still have a few months to consider those options!
Your Turn!
- What challenges have you faced designing WCs for tiny spaces?
The bathroom is intimidating (trying not to think too much about it at this stage), and I’m pretty sure my talents don’t run to welding. I’m thinking about retrofitting a steel tub, something already built to be waterproof, something low enough to step into. But then there’s overspray from the shower… how did you carry your waterproofing up the walls (between the tin seams)?
We mostly used teak trim in spots with seams but we had wide pieces of trim that we wrapped around so we don’t have many seams in our shower space. We wanted to make sure it was super protected and the undercoat of marine paint really helps with that.
Yes, I do really like the idea of painting on a barrier first, because water can be so insidious. Is the marine paint like a n epoxy, or more of an oil-based thing?
It’s oil based although if Cedric had had his way every nook and cranny would have been epoxied! It’s definitely his favorite construction material. I guess that’s what you get when you have a boat builder build a tiny house!
My 8×20 tiny house on wheels will have a 3×3 wet bath with sawdust toilet. Up to now I’ve been using my 4’x6′ wash house for the bucket toilet and a washtub to stand in with shower curtains all the way around when I use the solar shower bag (tea kettle water heater). The space is also crammed with tools and whatnot so a good trial run for a 3×3 space. The door to the 3×3 can be used to close just that space or swung out to close off a small hallway with closet opposite the 3×3 to make a larger change area when showering. The sawdust toilet box will move into the hallway when I shower. The floor in the 3×3 will be a duckboard of some sort over a slanted shower pan that drains into an outside portable greywater tank that will have a variety of disposal methods. The walls will be cedar with several layers of urethane but I’ll continue to use shower curtains all around for extra protection. The shower will be a pumped pressure sprayer with water heated on the stove that can also be used outside in the summer. I can still use the washtub instead of draining the water, makes greywater reuse simpler. Since most of my showers so far use about 1 1/2 to 2 gallons of water(includes washing long hair) the tub isn’t too heavy to manage afterwards. There will be a good exhaust fan as well. Once a sauna is built the showers will mostly happen there. Not as nice as a soak in a hot tub but uses a lot less water.
Would you mind giving more information about that pumped pressure sprayer? It sounds like it might solve a problem I’m facing with my own water system.
Thanks!
parker
Speaking of exhaust fans, one of the best we have found that really takes out the humidity quickly is the old fashioned in-the-wall exhaust fans that they used to have in the single wide mobile homes. Just pull the chain and BANG! The humidity is pulled out quickly. We found the ones through the roof had more problems than they were worth and really did not do an efficient job at all. And yes, you can still buy them! A friend of ours who also works in my husbands shop is buying a 12′ X 24′ portable building to make a tiny home on our homestead so we are finding out everything we can to help him with the remodel process from top to bottom.
We used a computer fan which works great but it isn’t sealed so if it’s not running I can see right out of it to the outdoors. Not a bad thing in the summer but in winter cold air does seep through so we may look into another type of fan. Thanks for the recommendation. I’m going to look in to those. We are currently looking to homestead as well but are searching for land and folks to possibly do so with here in Vermont!
This is a great post. The bathroom was the very last room we finished in the tiny house as well and I think for many of the same reasons. We did find a 30 inch stall shower and pretty much built the walls around it. Since our tiny house isn’t on a trailer it is a few inches wider than it would have been but we still built the bathroom around the 30 inch shower so we could use those extra couple of inches in the kitchen.
We also didn’t plumb our house so it was pretty quick to finish the bathroom once we finally got started with it. The part we are happiest with are the built in shelves. We built them right into the wall studs on the interior walls. There are three sections of shelves – one for me, one for Matt and the third for whatever else we needed in there.
Hello Laura!
Thanks for sharing your experience. It’s nice to hear from another tiny house builder their challenges. I’d love to see pics of your shelving. We still need to put in some storage. We have a towel rack with a nice shelf but that’s about it. I’m still trying to figure out how to maximize this tiniest of spaces in La Casita. Having such little plumbing to do was a huge asset though that’s for sure! Thanks again for your comment!
Thanks for the post. I feel the same way about as little plastic as possible. Did you think about using the latest 3mm thin tiles, or was motion still a concern for them breaking?
Can you tell me how you dealt with the door area? If it’s a sliding door, closing door, or what not? How did you make it to where it too is water tight?
hi! I just stumbled on this post while researching showers for the tiny home I am building. Do any of you have any photos of your finished showers? or any more thoughts of insights on what is good and what’s not so good after living in them for a few years?
I’d really love some more description on installing the shower, i have a stainless steel shower tray that has a lip and a raised bit then the pipe that needs to go through floor for grey water. I can’t have shower much higher because loft is right above and i am tall. Am i meant to run timber around the shower tray? What goes underneath the tray because it will need some sort of support where it slopes a bit? Plumbing is intimidating! ?